Showing posts with label our home. Show all posts

6.06.2013

A Big Girl Room

It's about time to get started on Avery's big girl room. I. am. so. excited.  The room we will be moving her to has two twin beds with stark white Ikea bedding and dark wood cut-out headboards with a matching set of furniture.  Oh and let's not forget the chocolate-brown walls I will not be sad to part with.

I've see-sawed a few times between color schemes for the new look, but have finally landed on light pink/white/royal blue/brass.  Below are some images I put together from which I'm drawing inspiration...


1/ Amie Corley's design for this little girl's room is a big inspiration for me.  The layout will be almost identical, as Avery's room will have matching twin bed and headboard sets on each side of the window.  I also adore her gallery wall here.   Already got and "A" for Avery:)  

2/ So, so happy "brass is back"!  Almost all of the original fixtures are still in this house.  And guess what? They are brass!!! Door knobs, switch plates, hardware in the bathrooms.  You name it.  We are going to keep it.  Partly in tribute to the house, and partly because I just love the look.  I've been scrounging thrift stores for good brass items, and let me tell you, it's everywhere!  {RecyleBuyVintage}

3/ We will need a chair, but because space will be an issue, an overstuffed glider like what we have in the nursery is just not going to work!  I want something pretty and interesting.  Comfort does not have to be the deciding factor here since I figure we will do most of our reading at night in her big girl bed.  I almost scored one on Craiglist this morning for $20 that looked very similar to this one, but I was about 30 minutes too late...  {Wisteria}

4/ Gallery wall!!! Don't you just love a good gallery wall?  Especially in a kid's room, I think.  I've been collecting frames for quite a while now, so I just cannot wait to get the wall painted and start arranging/hanging.  A little bit eclectic like the one pictured here is a must!  This big girl room by Nicole is so precious...

5/ Blue and white.   These colors are trailing through my house, and I would be remiss to leave Avery's room out!  I think the royal blue tones will pair very nicely with the light pink and stark white bedding. {via Pinterest}

6/ I've chosen Verbena by Sherwin Williams for the walls.  We will sample it before painting, of course, but we will end up doing something very similar to this shade if not this one itself.  Now that we know we are having another girl, I'm not afraid to go all out girly!

Of course, Emily is a genius and will be helping me pull this altogether in style and under budget.  Did you know she's open for business? 

5.29.2013

Restoration Bulletin Board

We've had this puppy sitting in our garage for a few months.  I originally wanted to purchase one of these from our church's garage sale last summer, but when I went to get it, it just wouldn't fit in my jeep:(  So when Emily offered up her unused one that was being stored by my neighbor-friend Mary Beth, I couldn't be happier! We only live two blocks from them, so Taylor and I very comically drove from their house to ours with this hanging out of the side of our jeep.  I drove very slowly while Taylor held onto it out of the passenger side window...


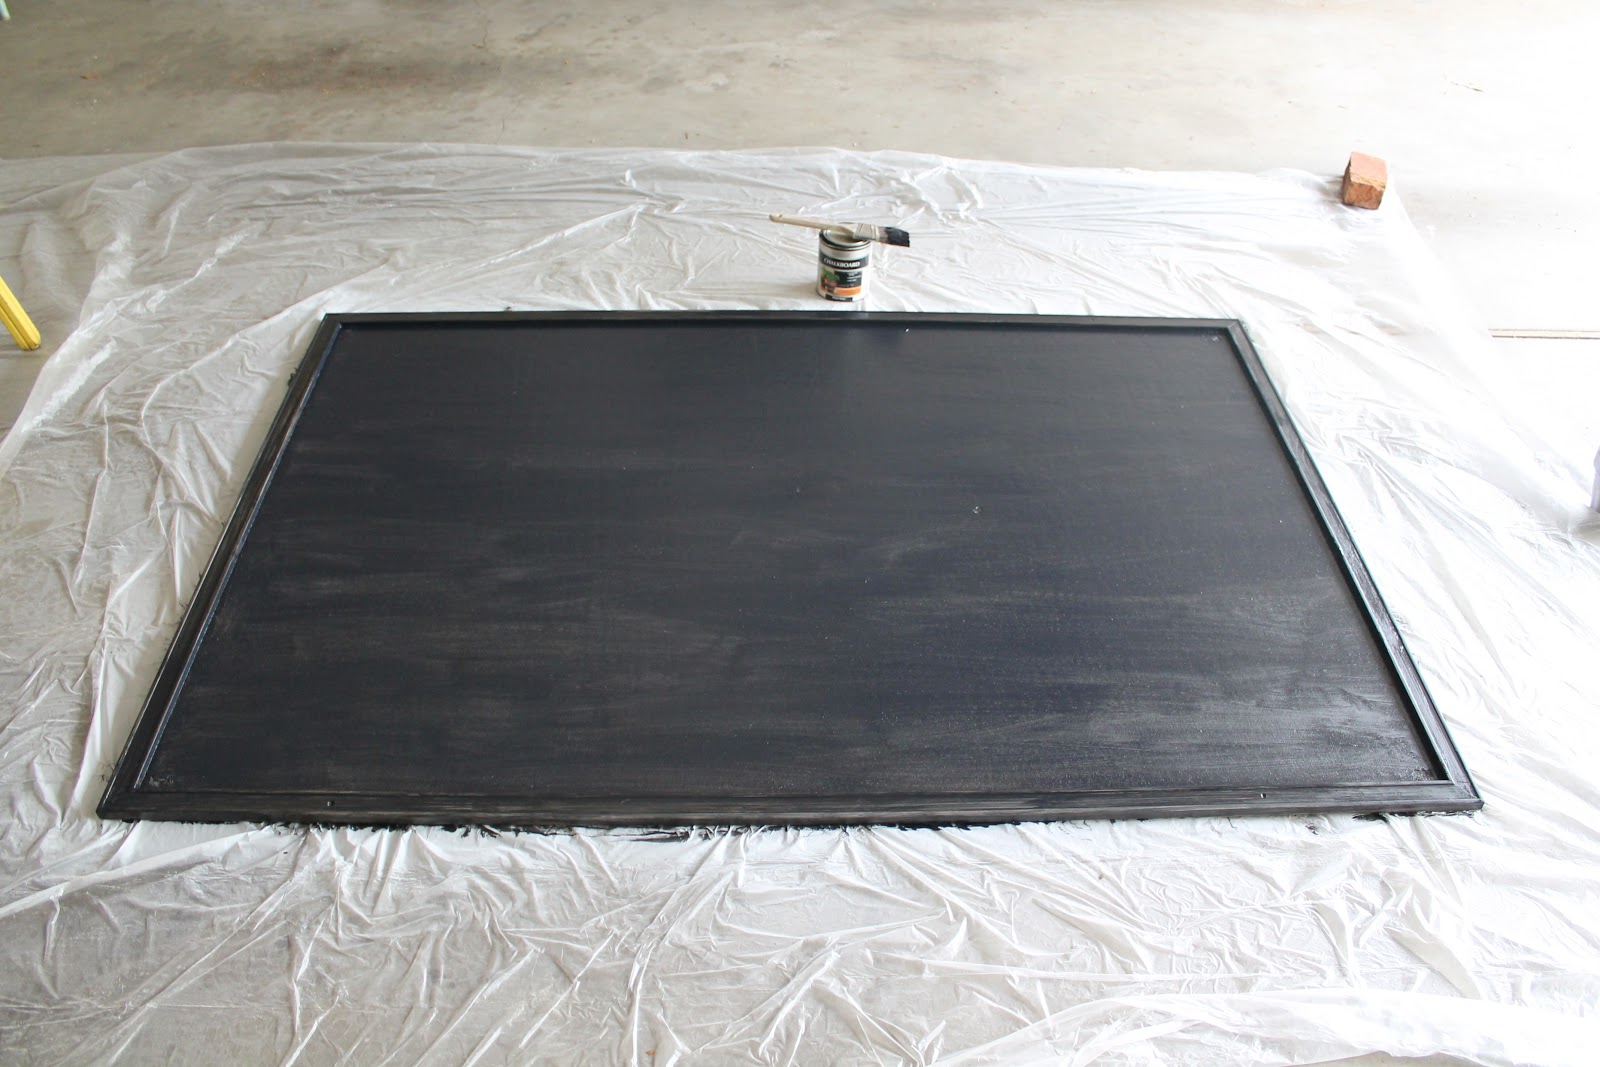
Didn't take me long to decide I wanted to convert it into a giant chalkboard for our not-so-formal, formal dining room, but it did take me a long time to get the energy to start the project.  Thank you, second trimester!!!

I didn't really do any prep.  Just primed it with spray primer, and painted two quick coats of chalkboard paint that I had leftover from other projects.

Don't worry! No babies were harmed during the completion of this project. I did this in my perfectly ventilated garage.  The best part?  I started and finished this before Avery even woke up from her afternoon nap!!!


Another wonderful aspect of this project? It was made using things we already had on hand, making it totally FREE.  

Here is the restored bulletin board's final resting place in our dining room...


Might I add that I'm loving our decision to keep all of the original brass fixtures in here?  Brass is back, people.

The table arrangement got a little "zushing", as well.  I'm loving the way our minimalistic, not-so-formal dining room is coming together.  Now I've got to figure out what to write on this thing...


Any ideas for quotes or art are fully appreciated:)

2.28.2013

Kitchen Progress II

Well, we've had minimal progress since the last time I posted about our kitchen, but it's already making quite a difference!  We started our kitchen backsplash right after Christmas and had all of the tiles up in just over a week.  We were feeling very accomplished at that point.  Then we found out we were expecting and this momma crashed!

We look at it almost every night and go, "We really need to finish the backsplash...".  Truth is people, I'm just too exhausted to work on it, plus the adhesive scent and my hound dog pregnancy smelling capabilities do not jive.  But, as the second trimester looms VERY near, I keep promising Taylor that a grouted backsplash is just around the corner!

Wanted to share our tiny progress with you...

Here is the kitchen the last time I posted here (note: the laminate backsplash is still intact along the right counter).


And here is the kitchen today...


We chose plain white subway tiles.  Like I said, the progress has been minimal, but even just having the tiles up drastically changes the look of the entire space!

These puppies are up next.  The plan is to replace all of the outlets (most are caked with grime) and cut tiles to fit around them before grouting.


Good news is that the BFF is moving back to Tulsa!  She is generally the wind beneath my wings when it comes to projects because she is very motivational, so we should see a spike in productiveness in the coming months:)

12.05.2012

Guest Suite Makeover

Our new house has a great mother-in-law suite located downstairs off of the main living areas.  It is a full bed and bath closet combo. We refer to it as our guest suite, mainly because both of our mothers aren't even close to having to live there, although we will welcome either of them with open arms if that day comes.

From the state of this room, it can be deduced that the previous owners hadn't entered in a very long time.  I don't think they had any use for it, so it needed a lot of TLC.  As I mentioned here, we had lots of guests in the month of November which turned out to be the motivation we needed to get this room ready! On the downside, we made some hasty decisions about carpet and paint color, but all in all it worked out.

Before you read on I have to warn you: As always I was too impatient to start and didn't get very good before pics.  I don't have very good pics of the progress either, especially in the early stages.  There isn't a ceiling light in this room (weird), so the only light is daylight or a floor lamp, which was unplugged for some of our work.  And since we worked mostly at night, pictures didn't really turn out that well.  Oh, and I take my pictures on my iPhone, so that is another excuse.


BEFORE.

Here is a before pic of the room from Zillow (they used it as a game room).  The carpet was green and had quite the "crunch" to it.  It was very reminiscent of the mid-90s carpet in the country club where I grew up.  As always, Zillow does the room more justice than it deserved...  

We started with the carpet.  In a perfect world (er, my perfect world), we would have laid wood floors. We ultimately decided to wait a few years until we do the flooring in the rest of the house so that we can match.

Here is a pic right after we had carpet laid (again, only a floor lamp for a light).  Already a huge improvement...


The walls/trim were pretty dirty and yellowed.  Definitely needed some freshening up...


This gap in the closet was the worst of it, but as you can see, there were lots of gaps between the molding and walls that needed to be addressed.  I did A LOT of caulking !!!


For paint, we chose to use warmer colors in taupe/brown tones to add a touch of masculinity and warmth to the room.  Here is the room after the walls were finished and one coat of trim had been done.  I'm always amazed at what a fresh coat of paint can do to a room!!!


AFTER. 

We used the rug and bedding from our old bedroom in our first house and a couch that we are storing for a friend.  For now they work great and we are very pleased with how everything turned out in here.  The room is definitely very comfortable, which was our goal.


Here I found the perfect place for a little doggie portrait I found at a garage sale...


Love these vintage end tables I found at Salvation Army long before we moved.  They had been living in our garage for over half a year.  Very happy to have given them a home...


My favorite part of the room? The gorgeous bay windows that overlook our back yard...


BEFORE. 

The bathroom also needed considerable caulking and painting, as well as new hardware to update the look {pic via Zillow}.  Again, this pic does the bathroom way more justice than it deserved...


AFTER. 

We chose a dark brown in here to contrast the bedroom and the white tile.  LOVE how it turned out.


Here is my favorite part of the entire process: the hardware.  Taylor thought I was brilliant for coming up with this, but I had to admit to him that it isn't my original idea:(  I took all of our existing, tarnished brass hardware and gave it few coats of Krylon's Brushed Metallic spray paint in the Oil-Rubbed Bronze color.  So instead of buying all new hardware,  I spent $3.60 (Hobby Lobby with a 40% off coupon) to update the entire lot.


BEFORE.


In progress. As you can see I went crazy and painted everything that we possibly could- the mirror, towel rack, all knobs and handles, the doorknobs and even the light fixture!


 AFTER.


I really dig the Krylon oil- rubbed bronze against the Valspar "Safari Beige" we used in here...


As always, a room is never really finished;)  We are thrilled with the progress we have made in the guest suite- especially that we feel comfortable with guests staying here now.  I do have many more ideas in store for this little section of our house, though!  I'm currently sifting through ideas for a headboard and new bedding, as well as determining what I would like to put on the walls.  

One thing I will definitely be hanging in here?  This landscaping blue-print of the house from 1994 I found in the closet!!!


Alright! Now who wants to come stay the weekend with us? Seriously, we love it!


11.07.2012

Inspired by Black

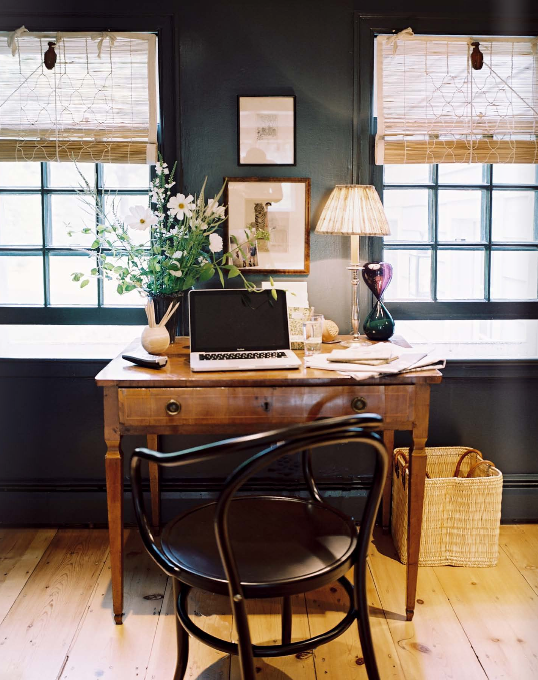
I'm feeling VERY inspired by black lately.  So much so that I'm itching to move onto some more projects using anything from chalkboard paint to black lacquer.

We have several things that I think would look wonderful painted black: a touch on the fireplace, the window casing in the kitchen window, our dutch doors on the inside (lacquer?), a few of the storage closets/doors around the house,the staircase, the beams in the ceiling in the family room... see what I mean?  Obsessed much?

Here are a lot of the images that are inspiring me right now...

FIREPLACE...


WINDOWS...


DOORS...


STAIRCASE...


WALLS...


SHELVES...


CEILING BEAMS...


{all images via Pinterest}

We have all white crown and base molding in our house, which I think looks perfect with touches of black.  What do you think?

Follow me on Pinterest!  I have a very full "Black" board:)